
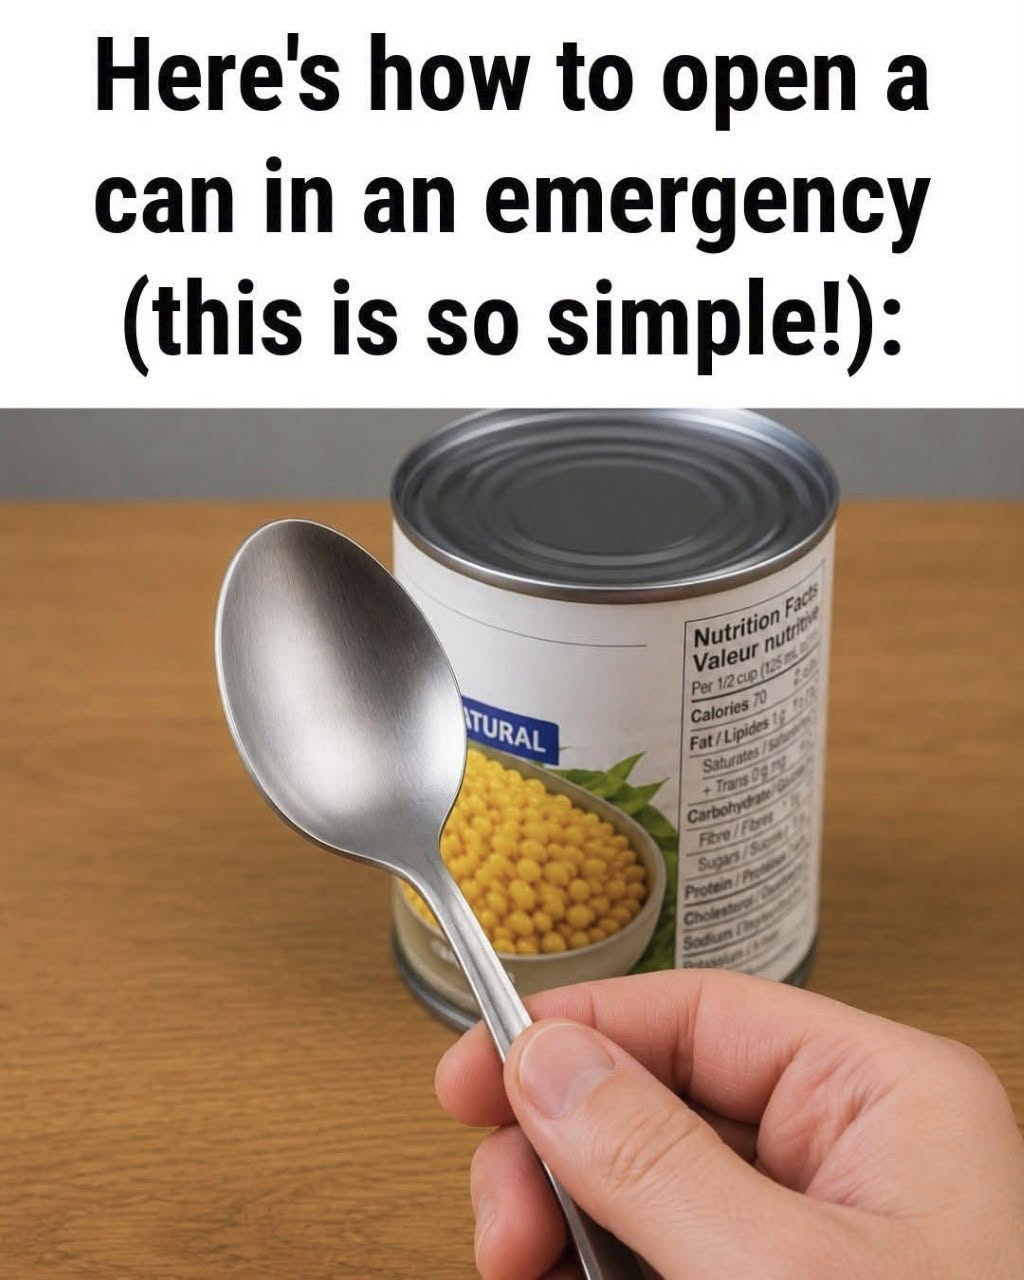
Canned foods are the undisputed backbone of emergency food supplies, outdoor camping gear, and everyday pantry storage. Thanks to their incredible shelf stability, affordability, and nutritional density, cans of beans, vegetables, soups, and meats can last for years without spoiling. However, a canned food supply is only as useful as your ability to open it.
Imagine preparing for a weekend camping trip, enduring a sudden power outage, or simply facing a broken or misplaced can opener in your kitchen. Realizing you cannot access your food can quickly lead to frustration. Fortunately, with basic mechanical principles, friction, and standard household items—such as a simple metal spoon—you can open almost any metal food can safely and efficiently without specialized tools.
The Mechanical Science Behind Emergency Can Opening
Modern food cans are constructed from thin sheets of steel or aluminum coated with a food-safe protective lining. The lid is secured to the main body through a process called double-seaming, creating a crimped, airtight seal along the top rim.
Why Metal Fatigue and Friction Work
When you do not have a sharp cutting wheel like that of a standard manual can opener, your goal shifts from clean slicing to metal puncture and friction scoring. Metal cans are engineered to withstand internal pressure, but the flat metal sheet forming the top lid is surprisingly vulnerable to concentrated force and repeated friction.
By applying pressure using a hard, rigid object—such as the tip of a stainless steel spoon or a flat concrete stone—you can weaken the thin metal lid along its inner crimped edge until it breaks open.
+———————————————————————–+
| CAN LID FRICTION DYNAMICS |
| |
| [ Rigid Metal Tool / Spoon ] |
| | |
| v (Downward Pressure + Back-and-Forth Motion) |
| =============================== <– Thin Metal Can Lid |
| [ Inner Rim Crease ] <– Concentrated Stress Point |
| | |
| v |
| [ Micro-Puncture ] ————> [ Prying Action Around Perimeter ] |
+———————————————————————–+
Method 1: The Metal Spoon Technique (Step-by-Step)
The spoon technique is widely considered the safest, cleanest, and most effective emergency method for opening a can because it requires no specialized blades and relies on standard kitchen silverware.
Materials Needed
One sturdy, solid metal spoon (stainless steel is ideal; avoid flimsy plastic or soft aluminum spoons).
A clean dishcloth or kitchen towel (for enhanced grip and hand protection).
Step 1: Secure the Can and Position the Spoon
Place the unopened can on a flat, firm surface like a stable table or countertop. Hold the can securely with your non-dominant hand. Grip the bowl of the metal spoon firmly in your dominant hand, placing your thumb inside the curved bowl of the spoon for maximum control and downward leverage.
Step 2: Friction Rubbing on the Inner Rim
Position the tip of the spoon bowl against the inner creased ring of the top lid, just inside the raised outer rim. Press the edge of the spoon tip firmly down onto the metal. Move the spoon back and forth rapidly over a small half-inch section. The friction will quickly score and thin the metal beneath the spoon tip.
Step 3: Puncture the Metal Lid
Within 20 to 30 seconds of firm, continuous rubbing, the thinned metal will yield, creating a tiny puncture hole in the lid. You will hear a slight release of pressure as the seal breaks.
Step 4: Work Along the Perimeter
Once you have created the initial puncture, insert the edge of the spoon tip into the hole. Lever the spoon forward to cut and pry open the metal along the inner circumference of the rim. Continue prying along the perimeter until the lid is detached enough to bend upward.
+———————————————————————–+
| SPOON CAN-OPENING METHOD |
| |
| 1. Position Spoon Tip on Inner Rim Crease |
| 2. Apply Downward Pressure & Rub Back and Forth Rapidly |
| 3. Create Initial Micro-Puncture |
| 4. Work Edge Around Rim to Lever Open Lid |
+———————————————————————–+
Alternative Emergency Can-Opening Methods
If a sturdy metal spoon is unavailable, several other household and outdoor methods can serve as effective alternatives during emergency situations or wilderness survival scenarios.
Method 2: The Concrete or Flat Rock Method
This classic outdoor survival technique relies on friction to grind down the top crimped seal of the can:
Locate a flat, rough concrete slab, sidewalk, or coarse stone.
Turn the can upside down so the top crimped rim rests against the rough surface.
Rub the inverted can back and forth over the stone with firm downward pressure.
Check the rim periodically. As soon as moisture or fluid begins to seep through, the crimped seal has been ground down.
Squeeze the sides of the can or use a clean butter knife to pop the lid free.
Method 3: Chef’s Knife Heel Technique
If you are in a kitchen without a can opener but have access to cutlery, the heel of a heavy chef’s knife can be utilized:
Safety Warning: Never use the sharp tip of a knife to open a can, as it can easily slip, snapping the tip or causing serious injury.
Execution: Place the can on a flat surface. Position the bottom back corner (the heel) of a thick chef’s knife blade against the inner edge of the lid. Apply firm downward pressure until the heel punctures the lid. Repeat this puncturing motion in small steps along the edge until the lid can be lifted.
Comparing Emergency Can Opening Techniques
Choosing the best emergency technique depends heavily on your environment, available tools, and safety considerations.
Method Required Tools Difficulty Level Safety Rating Best For
Spoon Technique Sturdy Metal Spoon Low – Moderate Very High Indoor emergencies, hotel stays, home lifehacks
Concrete Grinding Flat Concrete or Stone Moderate High Outdoor survival, camping, power outages
Chef’s Knife Heel Heavy Kitchen Knife Low Moderate Indoor kitchen prep without specialized tools
Pocket Knife / Multi-tool Folding Knife / Awl Moderate Moderate Hiking, hunting, bug-out bags
Crucial Safety Precautions and Hygiene Guidelines
While opening a can without a standard tool is a valuable life skill, safety must always remain your top priority to prevent cuts, food contamination, or injury.
Preventing Lacerations
Emergency opening methods frequently leave jagged, sharp metal edges along both the lid and the inside rim of the can.
Always cover your gripping hand with a thick cloth, towel, or heavy-duty work glove when handling open metal cans.
Never use your bare fingers to pry back a partially cut metal lid. Instead, use the handle of a utensil or a pair of pliers.
Protecting Food Safety and Hygiene
Before attempting any friction or grinding method, clean the outer top of the can thoroughly. Dust, dirt, or debris accumulated during shipping or storage can fall into the food once the seal is punctured.
Wash the can top with soap and clean water whenever possible.
If using the concrete grinding technique, wipe away all fine metal dust and grit from the lid before opening it completely to ensure zero contamination enters your food.
Emergency Preparedness, Risk Management, and Financial Security
Learning practical self-reliance techniques like opening cans without specialized tools aligns with broader principles of household risk management and disaster preparedness.
Building Comprehensive Emergency Readiness
True preparedness involves combining practical survival skills with financial and physical security. Families who build long-term emergency stockpiles, maintain clean water supplies, and learn basic lifehacks are significantly better equipped to handle natural disasters, severe weather events, or extended power outages.
+———————————————————————–+
| HOUSEHOLD PREPAREDNESS TRIAD |
| |
| [ Practical Skills ] [ Material Stockpiles ] |
| – Emergency Lifehacks – Canned Food & Clean Water |
| – Basic First Aid – First Aid & Power Backup |
| \ / |
| \ / |
| v v |
| [ Financial & Legal Security ] |
| – Emergency Savings Fund |
| – Health & Home Insurance |
| – Estate & Legal Protection |
+———————————————————————–+
Financial Resilience and Protection
Just as learning simple survival skills protects your family during an unexpected emergency, securing comprehensive insurance policies and financial safety nets shields your household budget from unexpected life disruptions.
Home and Health Security: Maintaining adequate health insurance safeguards your family against sudden medical expenses caused by home accidents or health emergencies.
Financial Planning: Working with finance, investment, and legal services professionals enables households to construct resilient emergency savings funds, manage mortgages and loans, and protect assets against unexpected financial storms.
Frequently Asked Questions (FAQ)
1. Will using a spoon to open a can ruin or bend the spoon?
If you use a sturdy, stainless steel spoon, it will easily withstand the pressure without bending. However, avoid using fine silver, antique cutlery, or soft aluminum spoons, as they may bend or scratch during the rubbing process.
2. Is it safe to eat food from a can opened with friction methods?
Yes, as long as you clean the lid prior to opening and carefully wipe away any loose metal shavings or concrete dust before consuming or serving the food.
3. Can you open a pull-tab can if the tab snaps off?
Yes. If a pull-tab breaks off completely, treat the can as a standard flat-top can and use the metal spoon technique directly next to the original scored opening.
4. What is the easiest tool to keep in an emergency kit for opening cans?
A manual military P-38 or P-51 can opener is extremely lightweight, inexpensive, virtually indestructible, and takes up almost zero space in a keychain or emergency preparedness kit.
5. How can I prevent cuts when removing a jagged can lid?
Always use a towel, leather glove, or pair of pliers to grasp the jagged lid, bending it completely backward and away from the food without using bare hands.
Conclusion
Lacking a traditional can opener does not mean you have to go hungry during a power outage, camping trip, or kitchen mishap. By utilizing the simple mechanical friction of a standard metal spoon or applying outdoor survival techniques, you can safely open any canned food item in minutes. Master these simple kitchen lifehacks, prioritize food safety and hygiene, and build a versatile set of practical skills to ensure your household remains prepared for any situation.
