
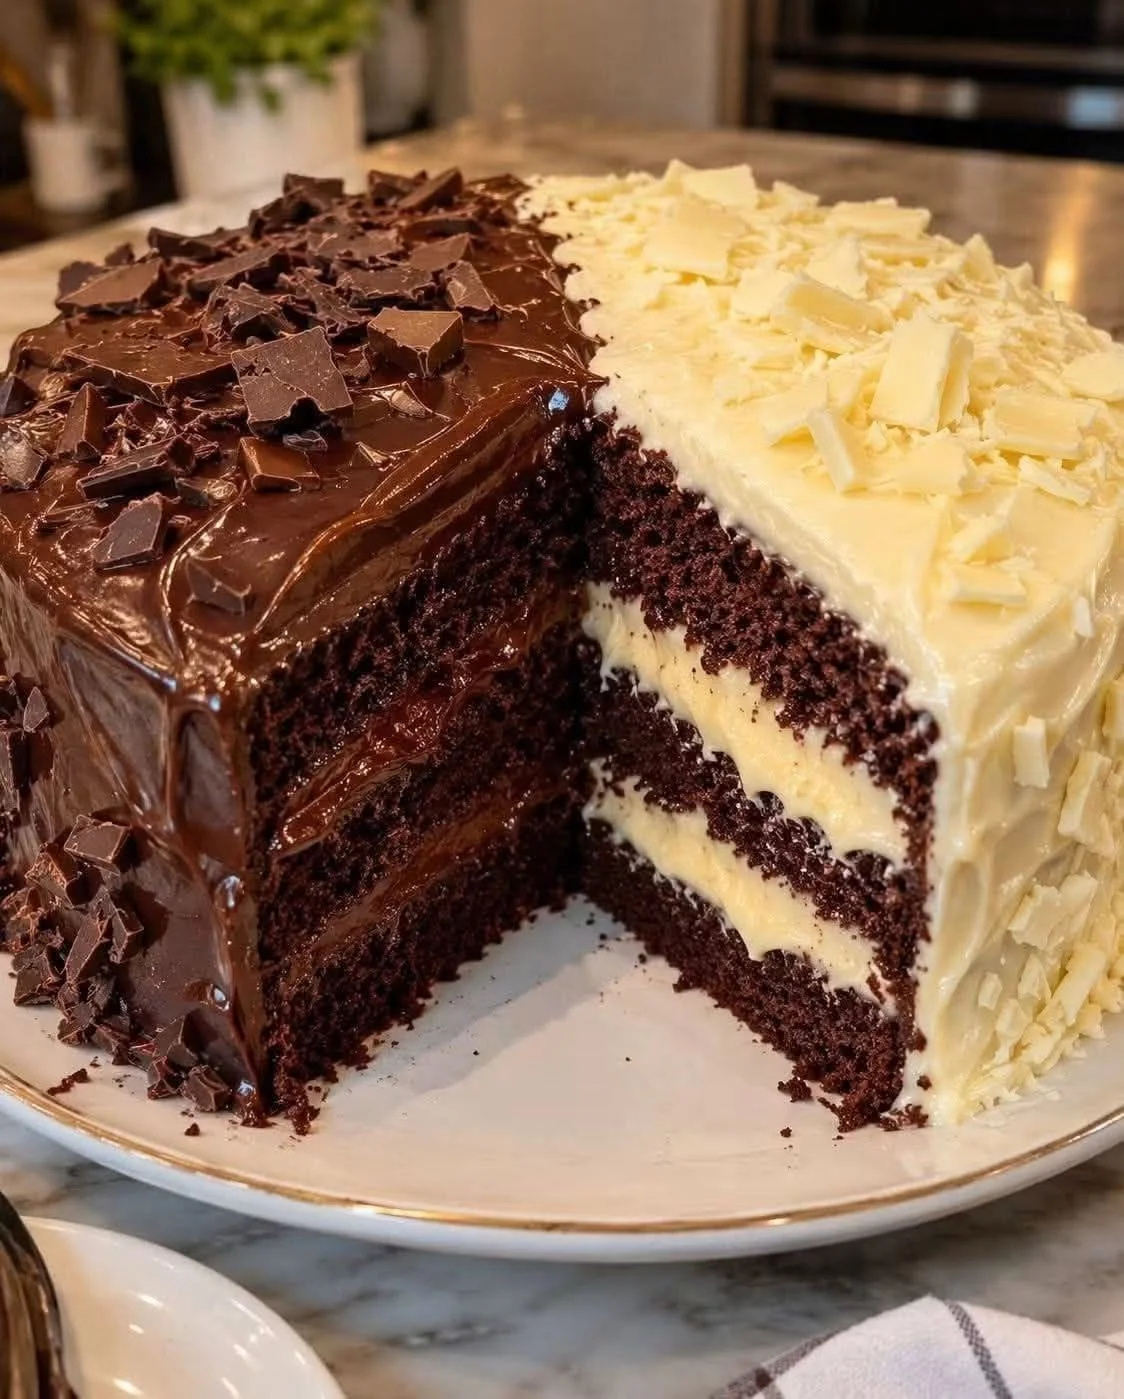
This spectacular Half Chocolate Half White Chocolate Cake combines three moist layers of rich chocolate sponge cake with two contrasting finishes. One half is covered with an intense dark chocolate ganache, while the other features a smooth and creamy white chocolate topping.
The result is an elegant two-tone dessert that combines the deep flavor of dark chocolate with the sweet, creamy taste of white chocolate. It’s an impressive choice for birthdays, holidays, celebrations, and large gatherings.
Recipe Overview
| Preparation Time | Baking Time | Chilling Time | Servings |
|---|---|---|---|
| 40 minutes | 30–35 minutes | 2 hours | 10–12 |
Ingredients
For the Three Chocolate Cake Layers
- 280 g all-purpose flour
- 80 g unsweetened cocoa powder
- 300 g granulated sugar
- 1½ teaspoons baking soda
- 1 teaspoon baking powder
- ½ teaspoon salt
- 2 large eggs, at room temperature
- 240 ml milk or buttermilk
- 120 ml vegetable oil
- 240 ml hot coffee or boiling water
For the Dark Chocolate Filling and Ganache
- 200 g dark baking chocolate, 50–70% cocoa
- 200 ml heavy cream, at least 30% fat
- 30 g unsalted butter
- 80 g dark chocolate shavings, for decoration
For the White Chocolate Filling and Frosting
- 200 g white baking chocolate
- 150 ml heavy cream, at least 30% fat
- 100 g mascarpone or unsalted butter
- 80 g white chocolate shavings, for decoration
How to Make Half Chocolate Half White Chocolate Cake
Step 1: Prepare the Chocolate Cake Layers
- Preheat the oven to 350°F (175°C). Grease three round 8-inch (20 cm) cake pans of the same size.
- In a large bowl, sift together the flour, cocoa powder, sugar, baking soda, baking powder, and salt.
- Add the eggs, milk, and vegetable oil. Beat for approximately 2 minutes, or until the batter is smooth.
- Slowly add the hot coffee while mixing gently. The batter will be quite thin, which is normal for this chocolate cake.
- Divide the batter evenly between the three prepared pans.
- Bake for 30–35 minutes, or until a toothpick inserted into the center comes out clean.
- Let the cakes cool completely on a wire rack before assembling.
Step 2: Prepare the Dark Chocolate Ganache
- Finely chop the dark chocolate and place it in a heatproof bowl.
- Heat 200 ml of heavy cream until hot but not boiling.
- Pour the hot cream over the chopped chocolate and let it sit for about 1 minute.
- Stir gently until the chocolate is completely melted and the mixture becomes smooth.
- Add the 30 g of butter and stir until fully incorporated.
- Allow the ganache to cool and thicken until it reaches a spreadable consistency.
Step 3: Prepare the White Chocolate Cream
- Chop the white chocolate and place it in a heatproof bowl.
- Heat 150 ml of heavy cream and pour it over the white chocolate.
- Let the mixture sit briefly, then stir until completely smooth.
- Refrigerate until completely cooled.
- Once chilled, whip the white chocolate mixture with the mascarpone until it becomes thick and creamy.
Step 4: Assemble the Two-Tone Cake
The signature feature of this dessert is the striking half-dark, half-white chocolate design.
- Place the first chocolate cake layer on a serving plate or cake board.
- Spread the dark chocolate ganache over the left half of the cake.
- Spread the white chocolate cream over the right half.
- Place the second cake layer carefully on top and repeat the two-tone filling.
- Add the final cake layer and gently press the layers together.
- Cover the left half of the entire cake with the remaining dark chocolate ganache.
- Cover the right half with the white chocolate cream.
- Use a clean offset spatula to create a straight, neat dividing line between the two sides.
Step 5: Decorate the Cake
For the finishing touch, emphasize the contrast between the two chocolates.
- Cover the dark chocolate side generously with dark chocolate shavings.
- Cover the white chocolate side with white chocolate shavings.
- Refrigerate the finished cake for at least 2 hours before slicing.
Chilling allows the fillings to firm up and makes the cake easier to cut cleanly.
